
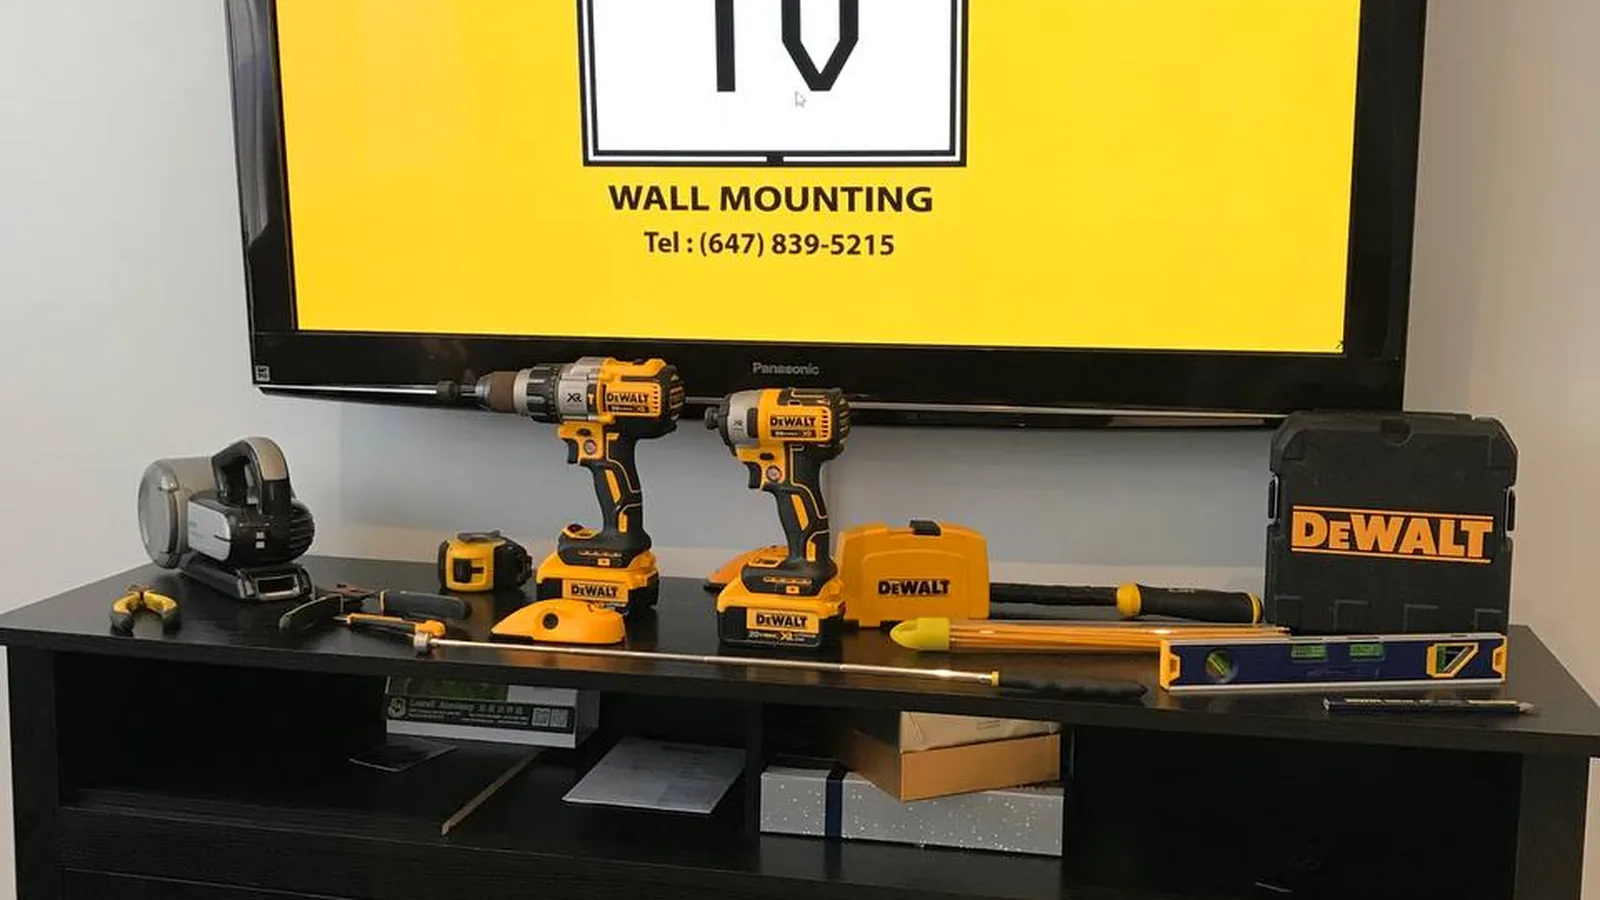
Guide · TV and soundbar · Toronto & the GTA
Mounting a TV and Soundbar Yourself
The tools, the steps and the measurements, written straight — plus the five jobs where doing it yourself stops being the cheaper option. We install these for a living, so we’ll tell you where the line is rather than pretend there isn’t one.
If it turns out to be one of the five: more than 10,000 installs behind us, a one-year workmanship warranty and $2,000,000 in liability insurance.
Recognised by
HomeStars Best of Award winner 2018–2023 · Best of Houzz Service 2018–2021

Start here
Can You Do This Yourself?
Usually, yes. A fixed mount, a wall of drywall over wood studs, and a soundbar that came with its own bracket is a genuinely doable afternoon for anyone comfortable with a drill. The steps further down are the ones we follow ourselves.
What we’d rather you didn’t do is find out halfway through that yours isn’t that job. Five things turn a straightforward mount into an expensive one: concrete or masonry, a fireplace wall, cable that has to go inside the wall, a bar heavy enough that the anchors actually matter, and a full-motion arm. Each of those is covered below, in the place where you’d hit it.
None of this is a sales pitch dressed as advice. If your job is the easy version, do it yourself and enjoy it. If it isn’t, the tools alone usually cost more than having it done.
Step by step
Mounting the TV
Six steps, in order. The two that people rush are the first and the third, and those are the two that decide whether the rest goes well.
-
Pick the spot, then check the height sitting down
Look for minimal glare and a comfortable viewing angle, then settle the height from your actual seat — middle of the screen at eye level when seated. That will feel low while you’re standing in the room holding a bracket. Trust the seated measurement anyway. Mounting too high is the most common thing we get called back to fix.
-
Find the studs and confirm them by hand
Run the stud finder, mark the edges, then confirm the centre with a small pilot hole before you commit. Scanners read strapping, pipes and old plaster as studs quite happily. On steel studs you need toggles rated for the load; on plaster and lath, expect the scanner to be close to useless.
-
Mark the mounting points and level them
Hold the wall plate up, mark through the holes, then level across the marks with a level long enough to span the whole bracket — not a phone app, and not a short torpedo level. Everything downstream inherits this line, including the soundbar.
-
Drill the holes
Pilot holes sized for your lag bolts, drilled square to the wall. On concrete or block this is where a normal drill gives up and you need a hammer drill and masonry bits — if that’s your wall, read the concrete section below before you start making holes.
-
Fix the wall plate, then the brackets to the TV
Bolt the plate into the framing, then attach the TV-side brackets using the hardware that came with the mount. Match the screw length to your panel: too long and you’re into the back of the TV, which is not a recoverable mistake.
-
Lift the TV onto the plate — with someone else
Anything from around 65 inches up is awkward enough that one person shouldn’t be doing it. Get the panel onto the hooks, check it’s properly seated, then fit the safety screws if your mount has them. Check the level again once it’s hanging; brackets shift a little under load.
Where this stops being DIY: a full-motion arm changes step five and six entirely. The arm carries far more load, cantilevered away from the wall, so the fixings and the framing behind them matter much more — and the cables need enough slack to travel through the full range without pulling. If that’s your mount, it’s worth a look at how we do the install.
Step by step
Adding the Soundbar
Four steps once the TV is up. The gap is the decision that matters, and it’s the one most people set by eye and regret.
-
Decide where it goes — and set the gap deliberately
Directly under the screen is where most bars belong, because that’s how most are voiced. Set the gap tight enough that the bar and screen read as one object, wide enough to clear the TV’s bottom bezel and its remote sensor, and high enough to clear whatever sits underneath. Above the TV is a real option when the screen is low or a media unit fills the space below — but a bar with upward-firing Atmos drivers needs open ceiling above it and will sound thin up high.
-
Check what your bar actually mounts with
This is where DIY soundbar jobs stall. Some bars include a bracket, some have keyhole slots moulded into the back, some need a model-specific kit sold separately, and a few have no mounting points at all and are only meant to sit on a surface. Two bars from the same manufacturer often differ. Find the model number and check before you drill anything.
-
Mark, drill and fix the bracket
Use the template if your bar came with one, and level it against the line you established for the TV rather than measuring down from the ceiling. Studs where there are studs, rated anchors where there aren’t. A heavy bar on drywall anchors is a slow-motion failure, not an instant one, which is what makes it easy to get wrong.
-
Hang it, connect it and test it before you tidy up
Seat the bar on the bracket, connect it to the TV, and confirm sound is actually coming out of the bar and not the TV speakers — that usually means enabling ARC/eARC on the right HDMI port. Check the remote still reaches the TV’s sensor from where you sit. Then deal with the cables.
The honest part
Five Jobs Where DIY Costs More
Not a scare list — these are simply the jobs where the tools, the materials or the cost of getting it wrong add up to more than the installation would have. If none of these is your job, stop reading and go mount it.
-
Concrete, block or masonry
Common in GTA condos and in any basement with a poured wall. You need a hammer drill, masonry bits and sleeve anchors rated to the screen, and there’s no cavity to hide a cable in. Buying the tools for one job costs more than the install.
-
Above a fireplace
Usually stone, brick or tile, usually tight on mantel clearance, and always unforgiving — a misplaced hole in a stone surround doesn’t fill. Heat and viewing height both need checking first. See above-fireplace mounting.
-
Cable inside the wall
Signal cable can run in a hollow wall between brush plates. Power can’t — standard cords aren’t rated for it, so doing it properly means an in-wall kit or a recessed outlet, which is electrical work. Details on wire concealment.
-
A heavy or very wide bar
Weight decides the anchors, and a bar wider than the TV throws the whole wall off visually. It’s also the failure that happens slowly — an under-anchored bar sags for weeks before it comes off the wall.
-
A full-motion arm
The load is cantilevered, so the framing and the fixings matter far more than with a fixed plate, and the bar has to stay aligned through the full range of movement. Both answers — bar on the arm, or bar on the wall — have consequences worth understanding first.

The deciding factor
It’s Almost Always the Wall
Across the 26 GTA municipalities we work in, the thing that decides whether this is a DIY afternoon or a call to someone is rarely the TV or the bar. It’s what’s behind the drywall — and that mostly follows the age and type of the building.
Condo and high-rise suites are typically poured concrete: the most secure fixing available, and the one that needs a hammer drill and gives you nowhere to hide a cable. Older Toronto houses often have plaster and lath, which crumbles differently than drywall and reads badly on a scanner. Newer builds out in the 905 are usually drywall over wood studs, sometimes with a conduit already behind the TV from the builder — the friendliest of the three by a distance.
Worth knowing before you buy anchors, not after. If you’re not sure which you’ve got, send us a photo and we’ll tell you — whether or not you end up booking anything.
Our work
Installations Across Toronto and the GTA
Finished jobs from around the region. There’s more in the full gallery and in our project write-ups.
If you’d rather not
What It Costs to Have It Done
Installation prices, excluding hardware. Every job is backed by a one-year material and workmanship warranty, and we carry $2,000,000 in commercial liability insurance — which most GTA condo boards will want to see on file before any contractor starts.
-
Fixed or tilting mount
From $179.99 for a TV up to 65″ on regular drywall.
-
Full-motion mount
From $189.99 for a TV up to 65″ on regular drywall.
-
Wire concealment
From $99.99 on regular drywall.
-
Above a fireplace
Metal mount from $399.99. Marble and stone quoted on a photo.
Soundbar mounting is quoted with the job rather than as a flat rate, because what it takes depends on the bar, the bracket and the wall. Send both model numbers and a photo and you’ll get a number before we arrive.
By the numbers
Soundbar Mounting, Backed by the Numbers
10K+ Installations completed
20+ Years combined experience
5.0 Average rating across 1,340+ reviews on Google, Yelp and HomeStars
$2M Liability cover
Every installation is backed by a one-year material and workmanship warranty, and we carry $2,000,000 commercial liability insurance — a certificate is available on request.
Keep reading
The Rest of the Soundbar Picture
-
Every mounting position, compared
Below the TV, above it, attached to the mount, or on a shelf — with the compatibility checks and wall types behind each.
-
Doing the TV and the bar together
Why one visit beats two, and how the cable plan changes when both go up at the same time.
-
Getting the cables out of sight
In-wall routing where the construction allows it, a slim painted channel where it doesn’t.
Turned out to be one of the five?
Send the TV model, the soundbar model and a photo of the wall, and we’ll price the whole job before we arrive.
Questions we get asked
TV and Soundbar Mounting: Common Questions
The ones that come up most, answered straight. If yours isn’t here, just ask us.
Can I mount a TV and soundbar myself?
On regular drywall with wood studs behind it, a fixed mount and a bar that came with its own bracket: yes, plenty of people do, and this page walks through it. What turns it into a bad afternoon is usually one of five things — concrete or masonry, a fireplace wall, cable that has to go inside the wall, a bar heavy enough that the anchors actually matter, or a full-motion arm. If any of those apply, the honest answer is that the tools cost more than the install.
What type of wall is suitable for TV mounting?
All of them, but not with the same hardware. Drywall over wood studs takes lag bolts into framing. Steel studs need toggles rated for the load. Plaster and lath is fragile and reads badly on a stud scanner. Concrete and block need a hammer drill and sleeve anchors. The mistake that costs money is assuming drywall anchors will do, and finding out they will not once the TV is on the bracket.
Can a sound bar be mounted under the TV?
Yes, and it is where most bars belong, because most are voiced to fire forward from just under the screen. Set the gap deliberately: tight enough that the bar and screen read as one object, wide enough to clear the TV's bottom bezel and its remote sensor, and high enough to clear whatever sits underneath. Above the TV works when the screen is low or furniture fills the space below, but a bar with upward-firing Atmos drivers needs open ceiling above it and loses the effect up high.
How high should the TV be mounted?
Set it off your seating, not off the wall. The usual starting point is the middle of the screen at eye level when you are sitting down, which is lower than most people expect and lower than it looks good at while you are standing there holding it. Mounting too high is the single most common thing we get called back to correct.
What tools do I actually need?
A stud finder, a drill, a level long enough to span the bracket, a tape measure, a pencil and a socket or driver for the lag bolts. On concrete add a hammer drill and masonry bits. A second person is not a tool but you will want one anyway: anything from about 65 inches up is genuinely awkward to lift onto a bracket alone, and that is the moment things get dropped.
Is it safe to mount a TV over a fireplace?
Sometimes, and it depends on things you have to check rather than guess: what the wall above the firebox is actually built from, how much heat it throws, how deep the mantel is, and how high you would end up looking. Stone, brick and tile all need different anchors than drywall. It is the job we would least recommend doing yourself, because the wall is usually masonry and the mistakes are permanent.
Can I hide the cables in the wall myself?
The signal side, sometimes. HDMI and optical are low-voltage and can run inside a hollow wall between brush plates where the construction allows it. The power side is different: standard power cords are not rated to sit inside a wall, so doing it properly means a code-compliant in-wall kit or a recessed outlet, and that is electrical work. Concrete has no cavity at all, so there the cable goes in a surface raceway.
What does it cost to have it done instead?
A fixed or tilting mount on regular drywall starts at $179.99 and full-motion at $189.99, for a TV up to 65 inches. Wire concealment starts at $99.99 and a metal mount above a fireplace at $399.99. Those are installation prices and exclude hardware. Send the TV model, the soundbar model and a photo of the wall and we will price the whole thing before we arrive.
Free Quote
Stuck halfway, or would rather not start?
Either is fine. Send us the two model numbers and a photo of the wall and we'll tell you what it takes — and what it costs if you'd rather we did it.
Takes about a minute · One-year workmanship warranty · $2,000,000 liability insurance